How to Close an Inground Pool for Winter: A Homeowner Checklist
Closing an inground pool for winter is more than putting on a cover. A careful closing protects water quality, gives plumbing and equipment a better chance of handling freezing weather, and makes spring startup less stressful.
The exact procedure depends on your pool type, plumbing layout, sanitizer, heater, cover, and equipment manufacturer. Use this checklist to organize the work, then follow the manuals for your specific system or hire a qualified pool professional if any step is unclear.
1. Choose the Right Time to Close
A fixed calendar date is less useful than watching local temperatures and how often you still use the pool. Closing too early can leave covered water warm enough for algae to develop. Waiting until hard-freeze conditions arrive can leave too little time to prepare plumbing and equipment.
Choose a dry day, allow enough time to work without rushing, and review the instructions for the pump, filter, heater, sanitizer, cleaner, and cover before you begin. If your equipment manual conflicts with a general checklist, follow the manufacturer’s directions.
2. Clean the Pool Before It Is Covered
Remove leaves and debris, brush the walls and floor, vacuum as needed, and empty baskets. Organic material left in the water can stain surfaces and create more cleanup in spring.
Inspect the waterline, coping, deck, fittings, lights, and visible pool surfaces while everything is accessible. Note cracks, loose components, leaks, or unusual equipment behavior. A small issue is easier to discuss when you have photos and a clear description of when it appeared.
3. Test and Balance the Water
Test the water before adding any closing products. The goal is to begin the off-season with water that is clean and balanced for your pool surface and equipment. Do not guess at chemical quantities or combine products unless their labels explicitly allow it.
The CDC’s healthy swimming guidance explains why clean, properly maintained recreational water matters for health and safety. For a winter closing, use current test results, product labels, and the recommendations for your specific pool system. Store chemicals in their original containers and keep incompatible products separate.
4. Protect Plumbing From Freezing
Water trapped in exposed or vulnerable plumbing can expand when it freezes. Winterizing commonly involves lowering the water only as required for the pool and cover, draining designated equipment, clearing lines, and installing the correct plugs or protection devices. The correct sequence varies by system.
This is the step where experience matters most. Valves, return lines, skimmers, water features, heaters, spas, and automatic-fill systems can all change the process. If you cannot identify every line or verify that it is protected, bring in a qualified pool professional rather than improvising.
5. Drain and Store Equipment Correctly
Turn off power according to the equipment instructions, then follow each manufacturer’s winterization procedure. Pumps, filters, heaters, chlorinators, salt systems, cleaners, and water-feature equipment do not all drain the same way.
- Remove drain plugs only where the equipment manual directs.
- Keep small plugs, fittings, and accessories together in a labeled container.
- Clean reusable filter elements according to their instructions.
- Store removable items in a dry location where they will not be damaged.
- Do not run equipment after water has been removed from the circulation system.
Take a few photos before disconnecting or removing components. They can make spring reassembly easier and provide a useful record if service is needed.
6. Use the Correct Winter Cover
A winter cover should fit the pool, match its anchoring system, and be installed according to the cover manufacturer’s instructions. A cover that is loose, damaged, or incompatible with the pool shape may not perform as intended.
The EPA’s pool water-efficiency guidance notes that pool covers reduce evaporation and can also reduce cleaning and chemical needs when used appropriately. That does not mean every cover is a safety cover. Confirm the product’s intended use and follow its load, anchoring, drainage, and maintenance requirements.
If you are comparing seasonal and automatic options, read our guide to the pros and cons of automatic pool covers. An automatic cover used during the swimming season may have different winter limitations, so check the manufacturer’s instructions rather than assuming it can remain in service through snow and ice.
7. Keep Barriers and Safety Devices in Place
A closed pool is still a pool. Keep gates, fencing, alarms, and other protective layers working throughout the off-season. The U.S. Consumer Product Safety Commission’s Pool Safely guidance recommends barriers, covers, and alarms as safety devices and stresses active supervision around water.
Do not treat a cover as permission to leave the area unsecured. Keep children and pets away from the covered pool, and never walk on a cover unless the manufacturer specifically designed and rated it for that use.
8. Check the Pool During Winter
Closing day is not the last time to look at the pool. Inspect the area after storms and periodically through the off-season. Watch for a shifted cover, loose anchors, standing water, accumulated debris, damaged fencing, or evidence that the water level has changed unexpectedly.
Follow the cover manufacturer’s instructions for removing rainwater, snow, or debris. Avoid sharp tools and do not add improvised weight to a cover. If something looks wrong, address it before the next freeze rather than waiting for spring.
A Simple Closing-Day Checklist
- Review all equipment and cover manuals.
- Clean the pool and empty baskets.
- Test and balance the water for the specific pool system.
- Inspect surfaces, fittings, deck, and equipment.
- Protect plumbing and water-feature lines from freezing.
- Drain and store designated equipment and accessories.
- Install the correct winter cover as directed.
- Confirm fencing, gates, alarms, and other safety layers still work.
- Photograph the final setup and schedule winter inspections.
Plan the Pool Around Year-Round Ownership
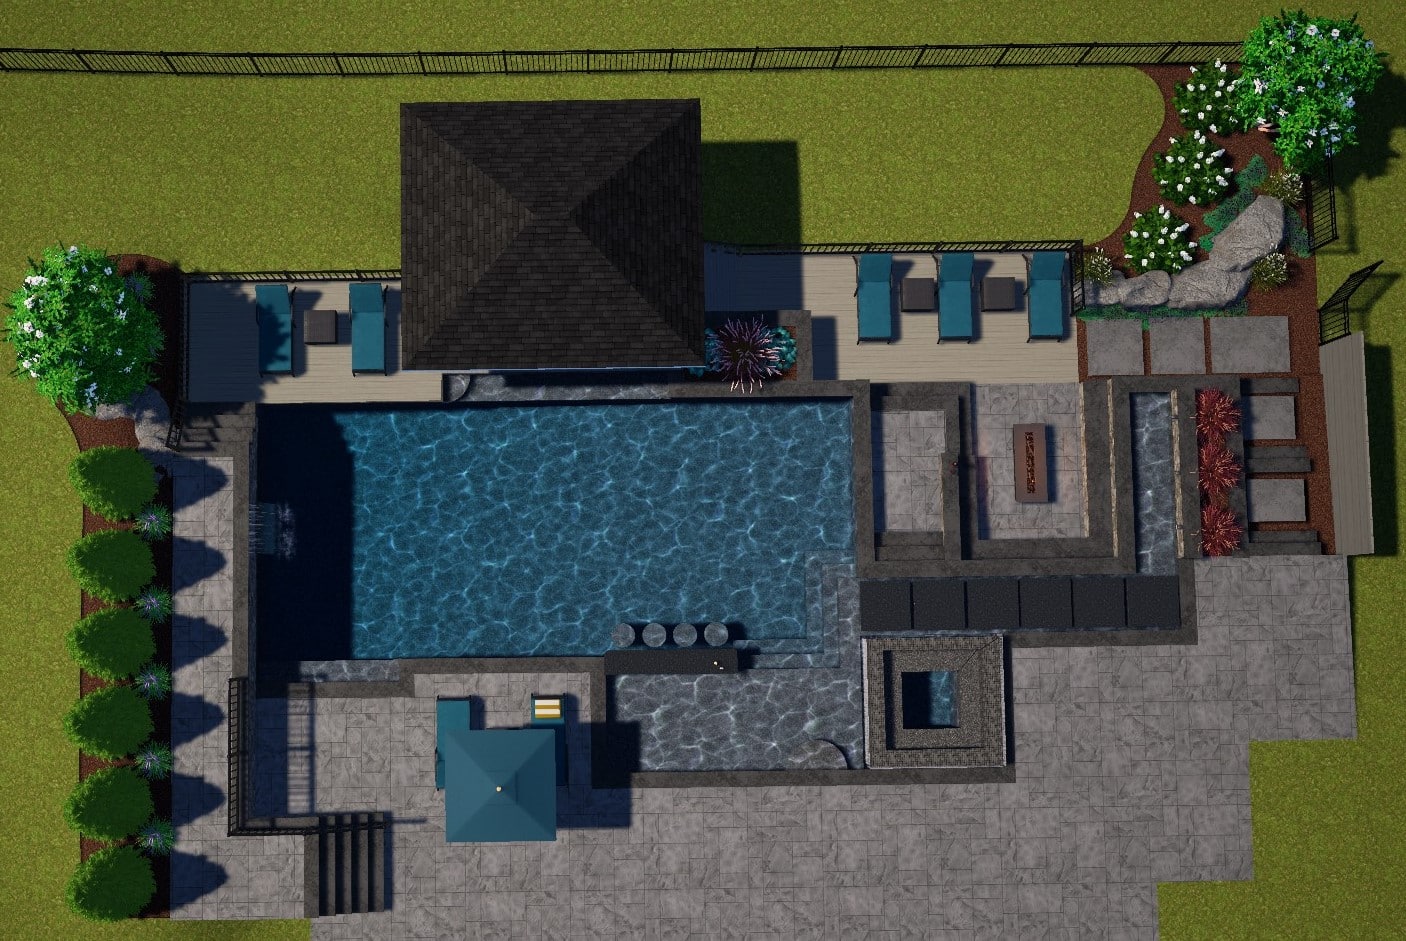
Winter care is easier when access, equipment placement, drainage, plumbing, and cover details are considered during design. If you are planning a new pool or reworking an existing backyard, explore our inground pool design and construction page for planning ideas.
Ready to discuss a new pool or a broader backyard project? Contact FS Landscaping to start a design conversation. For maintenance or winterization work, confirm that the provider you choose services your specific equipment and pool system.